Processing Landsat 8 Bands in Photoshop
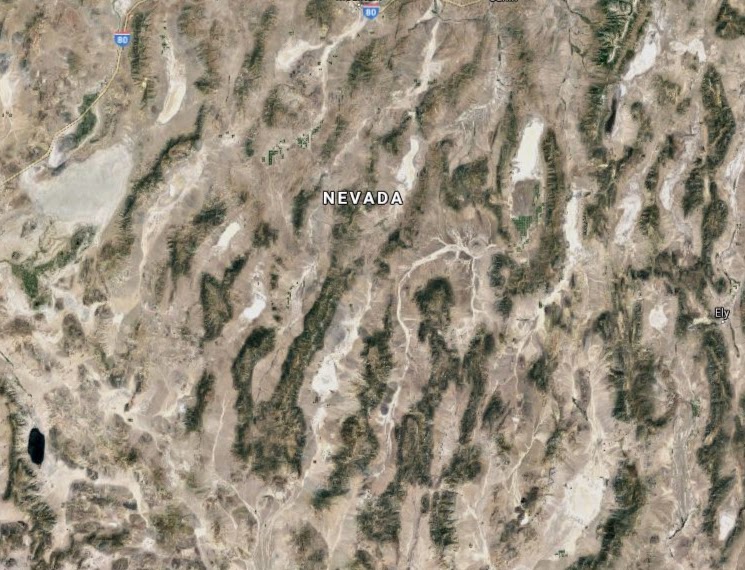
I recently completed a Photoshop tutorial written by Tom Patterson, which dives into the process of creating natural color satellite images from Landsat 8 bands in Photoshop. To put what I learned into practice, I chose an interesting area in Nevada, and gathered some Level-1 Landsat data. The image below is the map I created utilizing the Photoshop technique's Tom outlines:
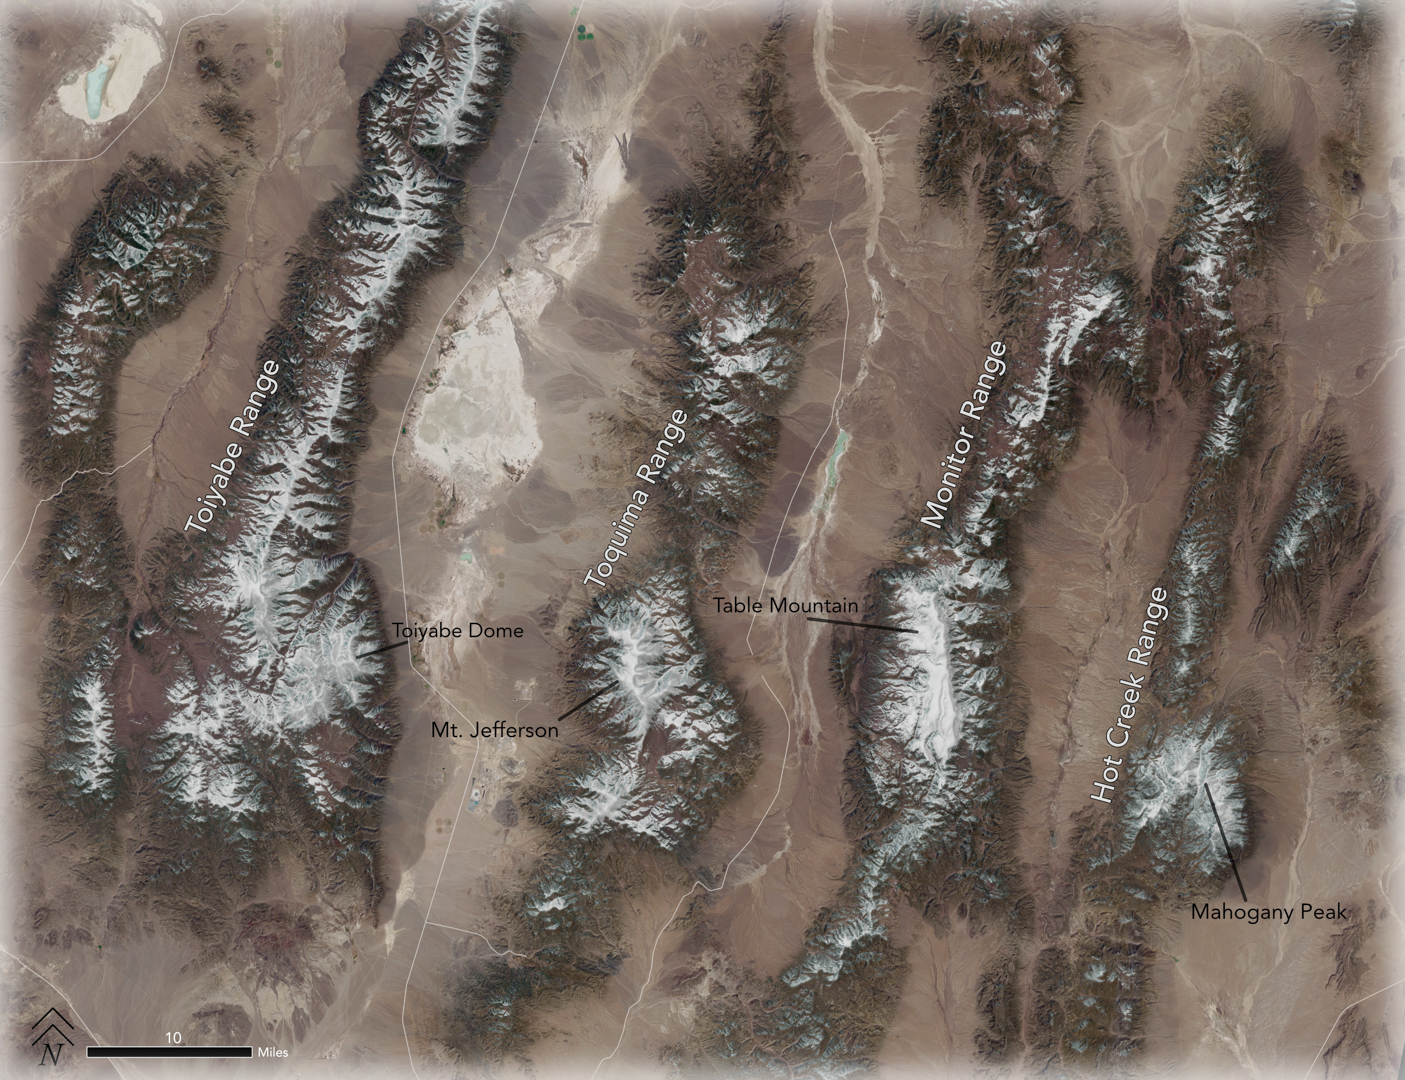
The Landsat 8 image was captured on 4/14/2020. I added a hillshade to highlight the elevation contrast (I discuss the hillshade in further detail down towards the bottom of this page). The major mountain ranges in central Nevada are labeled, and the highest peaks in each range are labeled. This part of Nevada has always interested me, whenever I am panning a map in the western part of the US, the stark difference in elevation and finger like mountain ranges always makes me stop and look:
Below I've outlined the four major steps of processing Landsat 8 bands with photoshop:
-
Open bands 4,3, and 2 into photoshop, merge the channels into one RGB:
Red: Band 4, Green: Band 3, Blue: Band 2. - Open the curves tool. The curve is dependent upon what the imagery consists of, Tom gives some examples of curves here.
- Overlay a LandsatLook Natural Color Image and set the opacity to around 20.
- Create a 'Panchromatic Sharpening' layer using Band 8. Overlay it on your current image stack, and change the blending setting to "luminosity."
There are additional steps which utilize masks. Masks can help create better looking imagery by improving the color of certain features. For example, a mask can be used to limit or remove the blue tint seen in snow that's created when the Landsatlook natural color image is overlaid. Conversely, you can use a mask to increase the color of certain features, like the blue tint of water bodies.
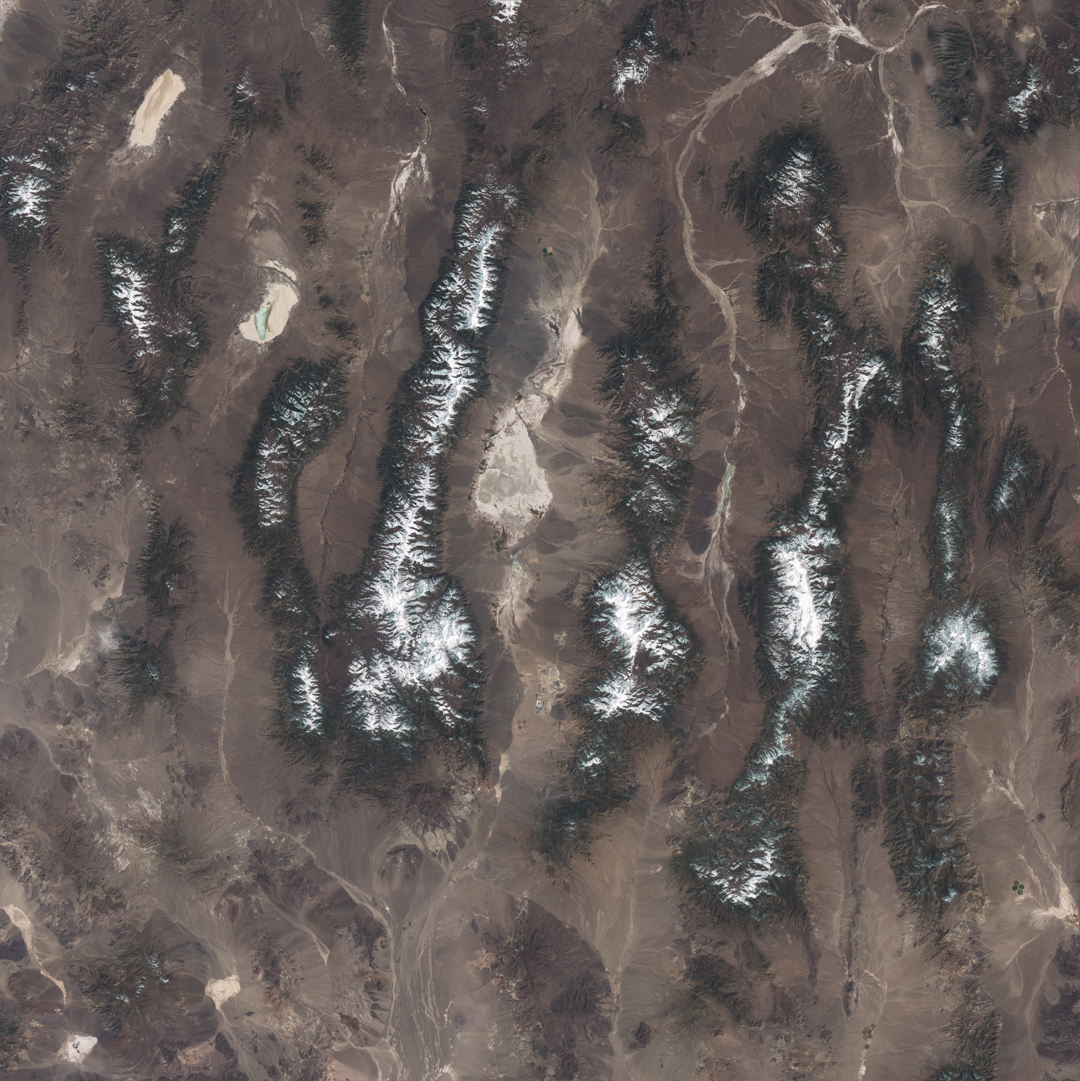
Without the masks, the 4 steps above are the core processes required to create a beautiful looking image from Landsat 8 bands. Here is what my final output looked like, before georeferencing the image in ArcGIS Pro:
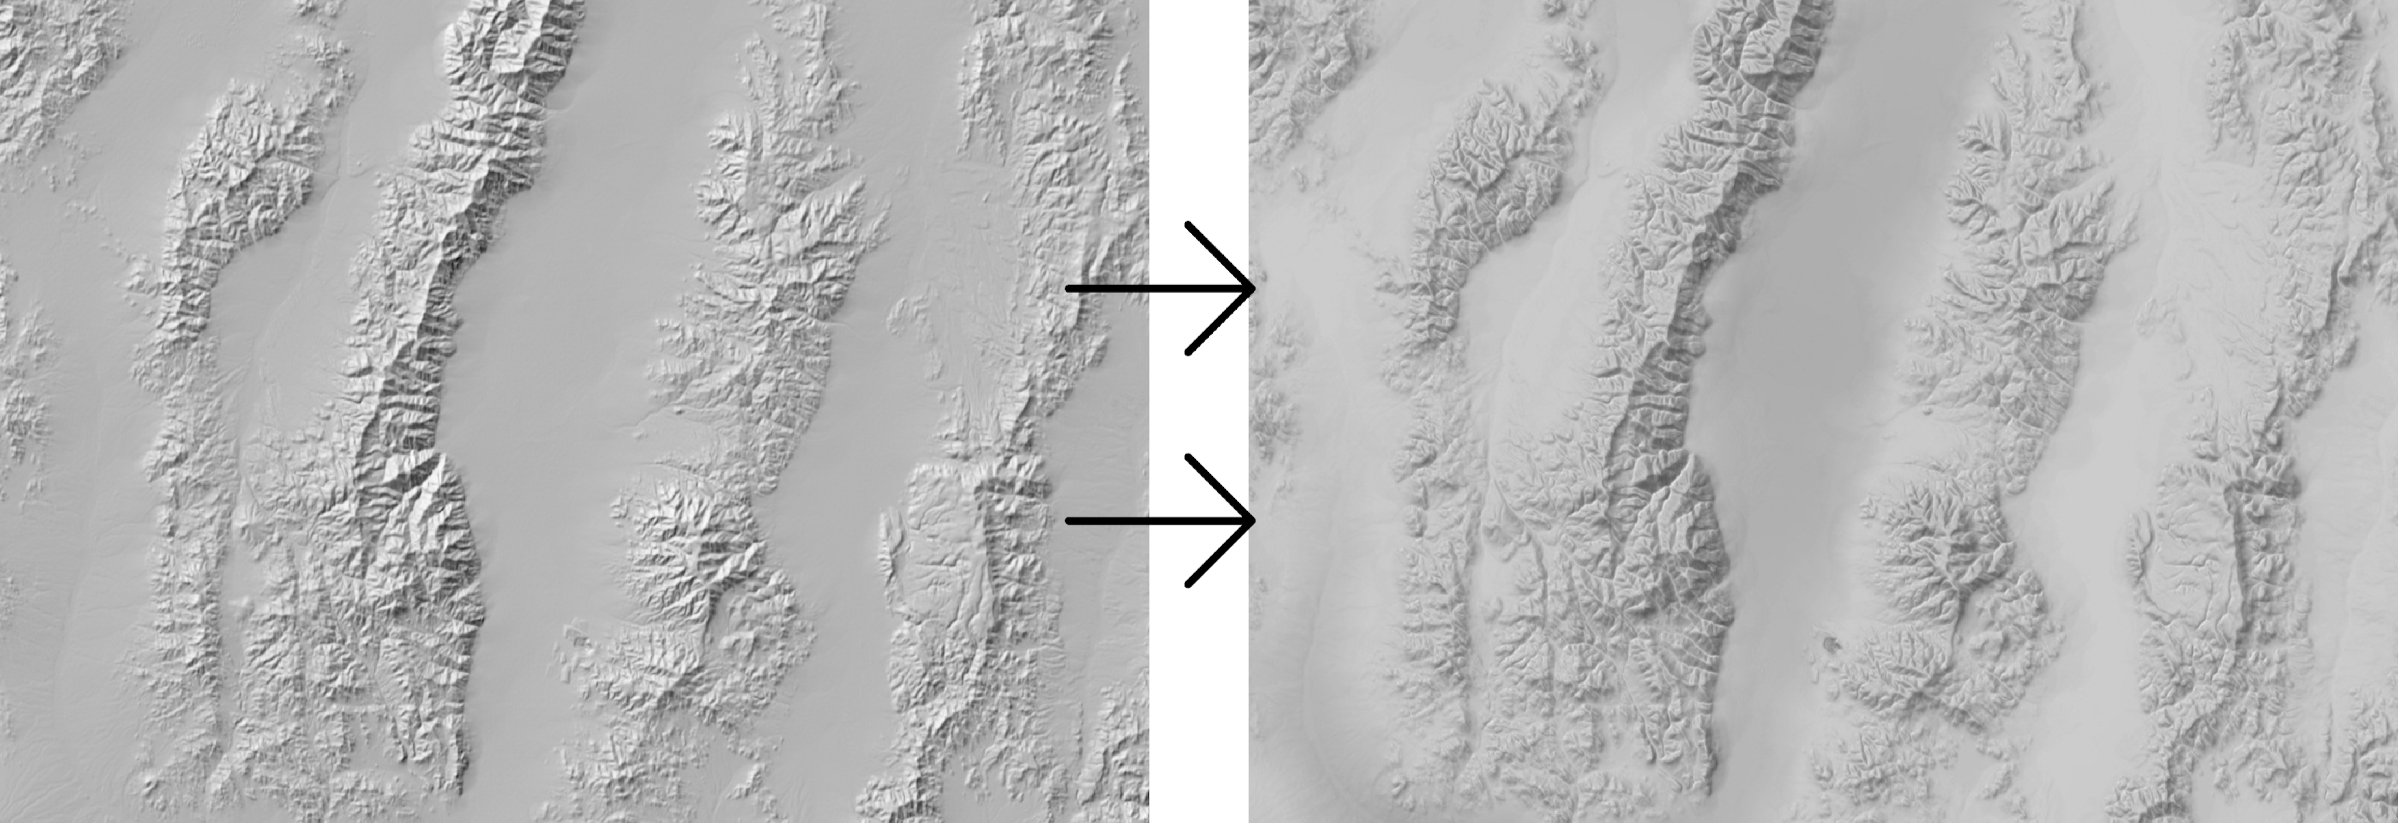
Last week, on April 29th, there was a day-long live streaming event consisting of mapping tutorials put on by experts in the industry called “How to do Map Stuff”. John Nelson walked through a tutorial on how to make a "smooth-sharp ambient hillshade" in ArcGIS Pro. That video can be found here. I gathered SRTM elevation tiles and combined the DEM's into a mosaic. The difference in hillshade is seen below, with the smooth sharp ambient hillshade on the right.